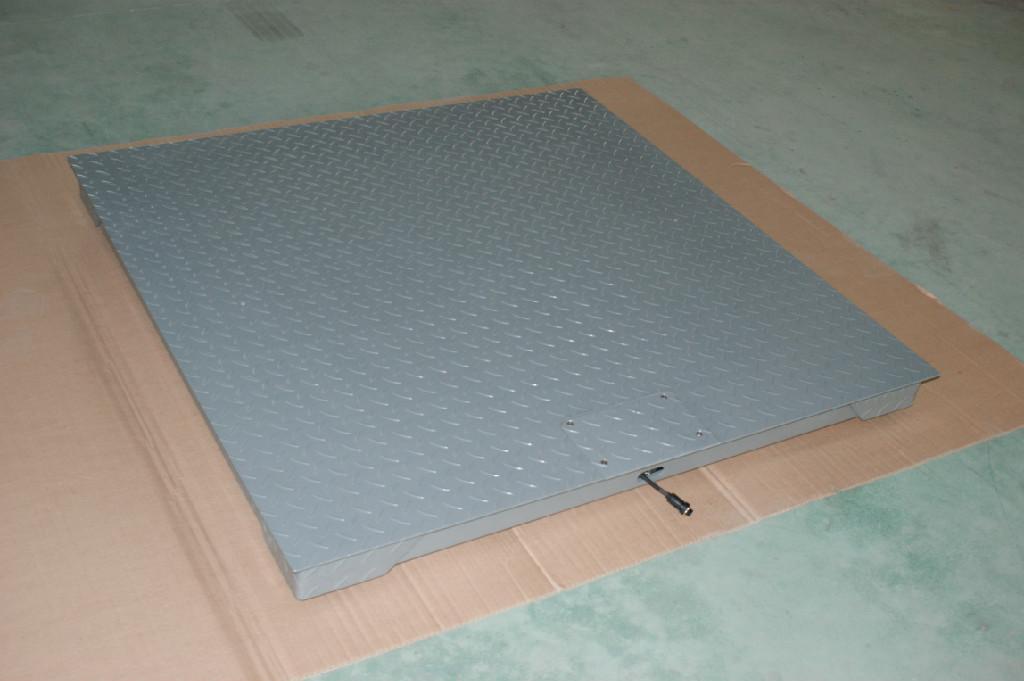
Electronic scales according to the scale body structure can be divided into: u-beam electronic scales, channel steel electronic scales, I-beam electronic scales, reinforced concrete electronic scales; according to the sensor can be divided into digital electronic scales, analog electronic scales, full electronic scales Electronic scales are commonly called floor scales. Their basic configuration is the same. All require sensors, junction boxes, printers, and weighing instruments. Today's electronic scales can be equipped with computers and weighing software.
Mastering the correct debugging procedure is one of the keys to the quick and easy adjustment of electronic scales. If you do not follow reasonable debugging procedures, rework will occur in all likelihood and even worse.
The correct debugging procedure for electronic scales:
Visual inspection → Measurement of basic errors → Stability and sensitivity → Variability → Accuracy of load bearing position → Accuracy of weighing → Adjustment of recreation → Test appearance The focus of inspection is to check whether the bearing table is deformed; whether the clearance between the edges of the bearing meets the requirements The height difference between the bearing table and the port is within the allowable range. Special attention should be paid to the deformation of the tabletop at the weighing object and the unloading load and the height difference to the edge of the crater; check whether the active links of the lever system are stuck; Check whether the operation table is horizontal; whether the connection hook is vertical or not, and whether there is a phenomenon of locking; whether the measuring lever is in the middle position of the indicator and whether there is a card or not.
The above debugger sometimes turns several steps into one step in actual work, but basically this order cannot be reversed, and any order inversion will cause unnecessary rework.

For example, if there is a serious change, it will not be able to accurately adjust the weighing scale, and it is also unreliable when the adjustment is made. Therefore, the accuracy of weighing can only be adjusted after adjustment of invariance. However, for the correctness of the load-bearing position and the correctness of the weighing, it is necessary to take a holistic consideration in the debugging and solve them together. This is because the main debugging links are the same, and they are often entangled with each other. Therefore, when debugging metrological performance, it is necessary to take into consideration the overall situation in an integrated manner, taking care not to lose sight of one another, and only in this way can the commissioning work be carried out smoothly.
Mastering the correct debugging procedure is one of the keys to the quick and easy adjustment of electronic scales. If you do not follow reasonable debugging procedures, rework will occur in all likelihood and even worse.
The correct debugging procedure for electronic scales:
Visual inspection → Measurement of basic errors → Stability and sensitivity → Variability → Accuracy of load bearing position → Accuracy of weighing → Adjustment of recreation → Test appearance The focus of inspection is to check whether the bearing table is deformed; whether the clearance between the edges of the bearing meets the requirements The height difference between the bearing table and the port is within the allowable range. Special attention should be paid to the deformation of the tabletop at the weighing object and the unloading load and the height difference to the edge of the crater; check whether the active links of the lever system are stuck; Check whether the operation table is horizontal; whether the connection hook is vertical or not, and whether there is a phenomenon of locking; whether the measuring lever is in the middle position of the indicator and whether there is a card or not.
The above debugger sometimes turns several steps into one step in actual work, but basically this order cannot be reversed, and any order inversion will cause unnecessary rework.

For example, if there is a serious change, it will not be able to accurately adjust the weighing scale, and it is also unreliable when the adjustment is made. Therefore, the accuracy of weighing can only be adjusted after adjustment of invariance. However, for the correctness of the load-bearing position and the correctness of the weighing, it is necessary to take a holistic consideration in the debugging and solve them together. This is because the main debugging links are the same, and they are often entangled with each other. Therefore, when debugging metrological performance, it is necessary to take into consideration the overall situation in an integrated manner, taking care not to lose sight of one another, and only in this way can the commissioning work be carried out smoothly.
Tile saw is specifically designed for cutting ceramic tiles, although it can sometimes cut other materials such as glass.
Tile Saw table,Professional tile saw,Hand Tile saw
AWLOP CO.,LTD , https://www.awlop.com